Overview
This post is part of a series illustrating how to automate the process of deploying an AD Lab. This article provides information on system requirements and implementing the prerequisites for installing the AD Lab. These prerequisites are a subset of the prerequisites for part two. If you have already completed that section, you may skip these steps. This is the starting point for deploying the AD Lab if you already have the customized installer ISOs produced in part two.
You can use our automation script, OZO AD Lab Implement Installation Prerequisites (testing release) to perform these steps with a single command! Some steps may require you to reboot and start the script again. Look for the message “All prerequisites are satisfied” before moving on to the next post.
System Requirements
- Microsoft Windows Server, Enterprise, or Pro
- Hyper-V and related management tools
- An external (Internet) network connection
- 45GB persistent storage for virtual machine disks
- 40GB temporary storage for downloaded ISOs, customized ISOs, and exported virtual machine archives
- 10GB memory
- 5 virtual CPUs
Prerequisites
Install Hyper-V Components
Run these commands in an Administrator PowerShell to install the Hyper-V components and restart:
Enable-WindowsOptionalFeature -Online -FeatureName Microsoft-Hyper-V -All
Restart-Computer
Grant Permissions
Using an account with Administrator rights, add your [regular] user to the local Hyper-V Administrators group, then log out and back in.
Configure Networking
You will need an external switch and a private switch. Use Get-NetAdapter to find the name of your external (Internet) adapter and New-VMSwitch to create the virtual switches, e.g., if your network interface is named Ethernet:
Get-NetAdapterName InterfaceDescription ifIndex Status MacAddress LinkSpeed
---- -------------------- ------- ------ ---------- ---------
Ethernet Realtek USB GbE Family Controller 24 Up AC-1A-3D-7B-7D-34 1 GbpsNew-VMSwitch -Name "AD Lab External" -NetAdapterName "Ethernet"
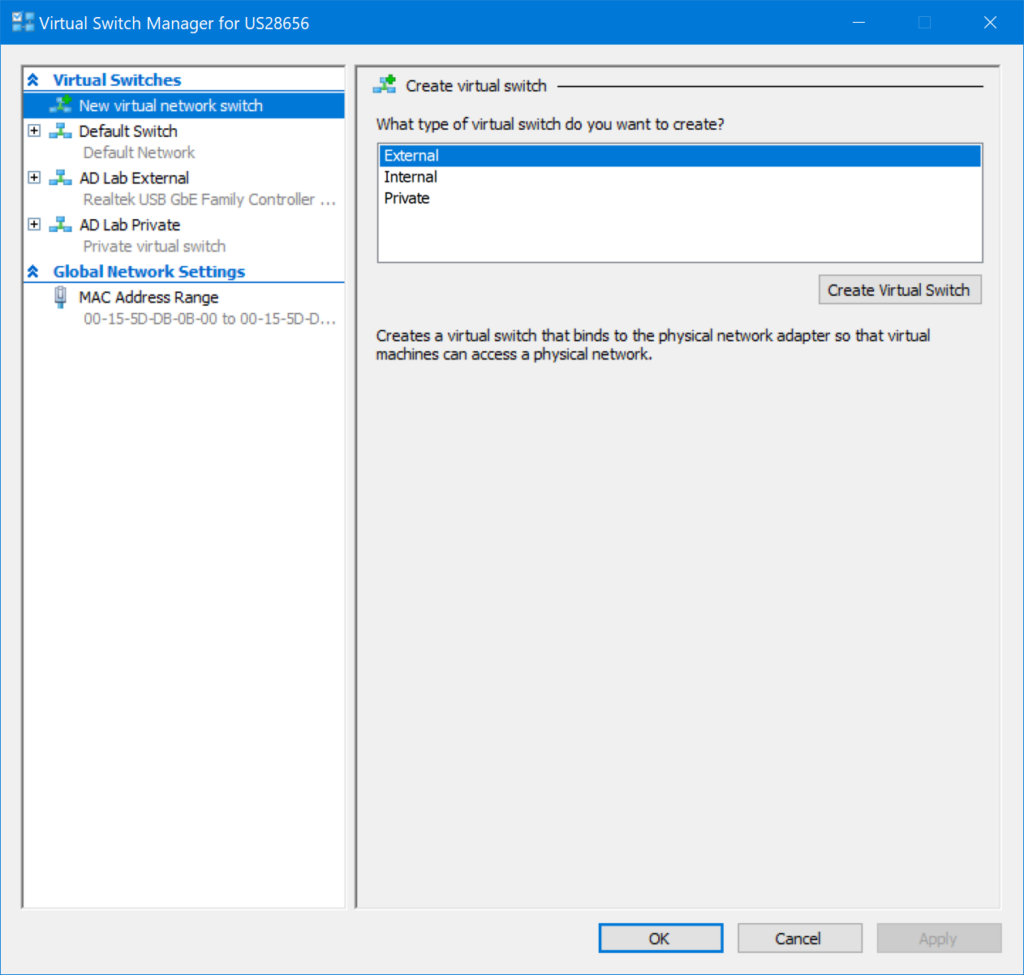
New-VMSwitch -Name "AD Lab Private" -SwitchType PrivateYour new switches will appear in the Hyper-V Virtual switch manager:
Obtain Installer ISOs
You will need the four customized installer ISOs created as described in part two of this series. Copy these to your Downloads directory.
| Virtual Machine | ISO |
|---|---|
| Router | OZO-AD-Lab-Router.iso |
| DC | OZO-AD-Lab-DC.iso |
| Server | OZO-AD-Lab-Server.iso |
| Client | OZO-AD-Lab-Client.iso |
Part I – Introduction
Part II – Customization
Part III – Installation
- Installation Prerequisites
- Create the Virtual Machines
- Install the VMs