This post is part of a series illustrating how to automate the process of deploying an AD Lab. This article provides information on system requirements and implementing the prerequisites for customizing the installer ISOs.
You can use my automation script, OZO AD Lab Implement Customization Prerequisites to perform these steps with a single command! Some steps may require you to reboot and start the script again. Look for the message “All prerequisites are satisfied” before moving on to the next post.
System Requirements
- Microsoft Windows Server, Enterprise, or Pro
- An external (Internet) network connection
- 32GB persistent storage for virtual machine disks
- 30GB temporary storage for downloaded ISOs and customization
- 11GB for customized ISOs
- 6GB memory
- 3 virtual CPUs
Prerequisites
Install Hyper-V Components
Run these commands in an Administrator PowerShell to install the Hyper-V components and restart:
Enable-WindowsOptionalFeature -Online -FeatureName Microsoft-Hyper-V -All
Restart-Computer
Grant Permissions
Using an account with Administrator rights, add your [regular] user to the local Hyper-V Administrators group, then log out and back in.
Configure Networking
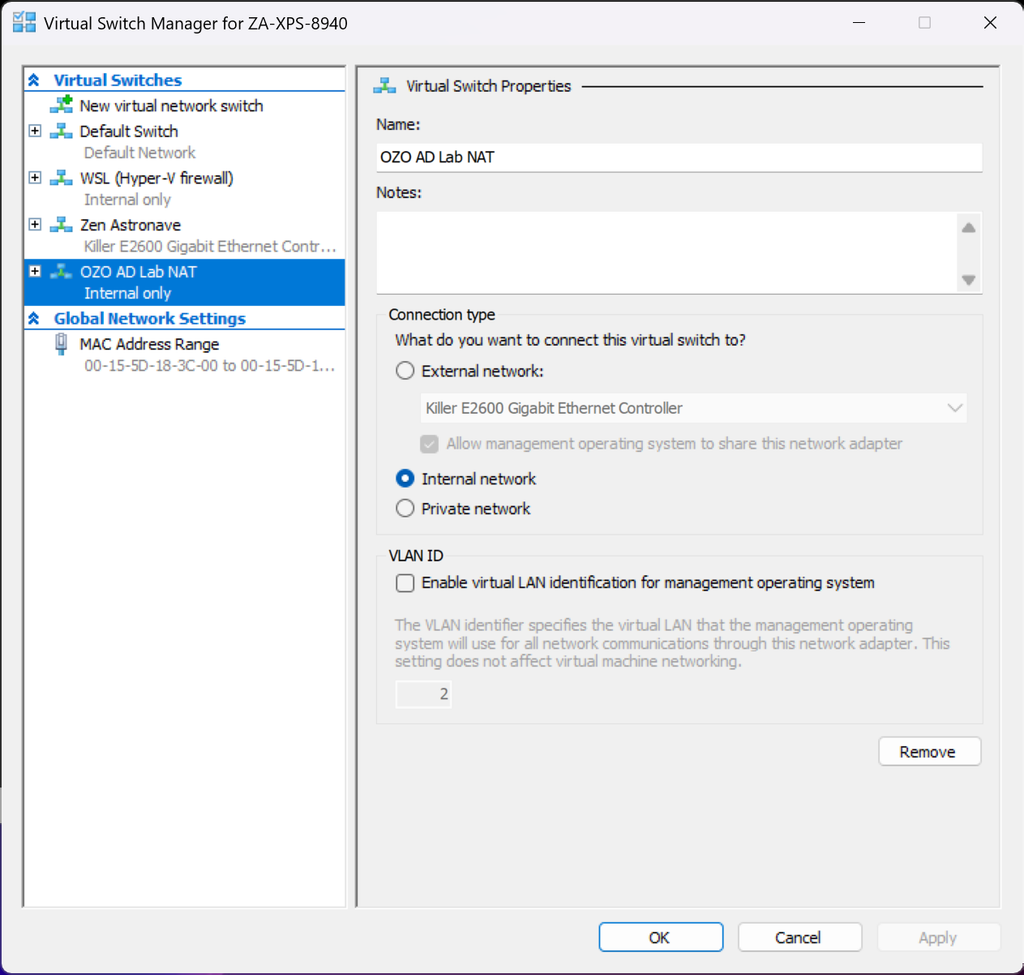
You will need a Hyper-V NAT switch called OZO AD Lab NAT configured with 172.16.1.1. Execute the following in an Administrator PowerShell:
New-VMSwitch -SwitchName "OZO AD Lab NAT" -SwitchType Internal
New-NetIPAddress -IPAddress "172.16.1.1" -PrefixLength 24 -InterfaceIndex (Get-NetAdapter | Where-Object { $_.Name -eq "vEthernet (OZO AD Lab NAT)" }).ifIndex
New-NetNat -Name "OZO AD Lab NAT" -InternalIPInterfaceAddressPrefix "172.16.1.0/24"
Your new switch will appear in the Hyper-V Virtual switch manager:
Install Microsoft Kits
Download and run the latest Microsoft Assessment and Deployment Kit and select the Deployment Tools feature during installation. This kit provides the Windows System Image Manager (“Windows SIM”) and the Deployment and Imaging Tools Environment (oscdimg.exe) required for the ISO customization process.
Download and Extract the OZO AD Lab Resources
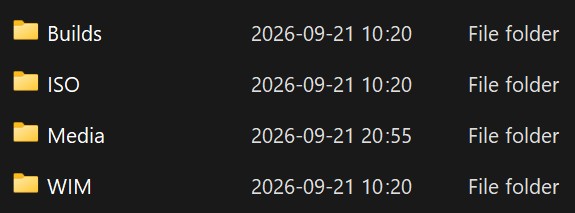
The assets used in this process are released on Github. Download the latest release and extract it to C:\. You should see the following files and folders under C:\ozo-ad-lab:
The root of C? Really!?
Certainly some readers will balk at the idea of placing these resources in the root of C, and I sympathize. The reasons are two-fold: (1) keeping the paths short and predictable for the following instructions, and more importantly (2) the
oscdimg.exetool cannot handle paths with spaces. The good news is that theozo-ad-labdirectory is temporary and can be deleted as desired at the end of part two of this series.
Download Installer ISOs
Download theseMicrosoft Windows installer ISOs to C:\ozo-ad-lab\ISO and rename them as follows:
| Download | Absolute File Name |
|---|---|
| Microsoft Windows 11 Enterprise Evaluation edition | C:\ozo-ad-lab\ISO\microsoft-windows-client-evaluation.iso |
| Microsoft Windows Server 2025 Evaluation edition | C:\ozo-ad-lab\ISO\microsoft-windows-server-evaluation.iso |
Part I – Introduction
Part II – Customization
- Customization Prerequisites
- Customize the Installer ISOs