Overview
This post is part of a series illustrating how to automate the process of deploying an AD Lab. This article details the process for installing the Linux router and the Windows systems using the customized installer ISOs produced in part two of this series.
Install the Linux Router
Install Linux
- Start the router VM. The automated installation will finish and reboot.
- Edit the router VM settings and remove the ISO from the DVD drive.
Install the Windows Systems
Install the Domain Controller
- Start the router VM and allow it to finish booting.
- Start the dc VM.
- Press any key to boot to the DVD drive and allow the automated installation to complete; the system will restart twice.
- Log in with username CONTOSO\Administrator and password
ADL@b$ecurePassw0rd. - In an Administrator PowerShell, run
& "C:\ProgramData\AD Lab\Scripts\ad-lab-configure.ps1"to populate the domain with a variety of AD objects. - Edit the dc VM settings and remove the ISO from the DVD drive.
Install the File Server
- Start the router and dc VMs and allow them to finish booting.
- Start the server VM.
- Press any key to boot to the DVD drive and allow the automated installation to complete; the system will restart.
- Log in with username CONTOSO\Administrator and password
ADL@b$ecurePassw0rd. - In an Administrator PowerShell, run
& "C:\ProgramData\AD Lab\Scripts\ad-lab-create-share.ps1"to set NTFS permissions onC:\Shareand create the SMB share. - Edit the server VM settings and remove the ISO from the DVD drive.
Install the Client
- Start the router and dc VMs and allow them to finish booting.
- Start the client VM.
- Press any key to boot to the DVD drive and allow the automated installation to complete; the system will restart.
- Edit the client VM settings and remove the ISO from the DVD drive.
Notes and Caveats
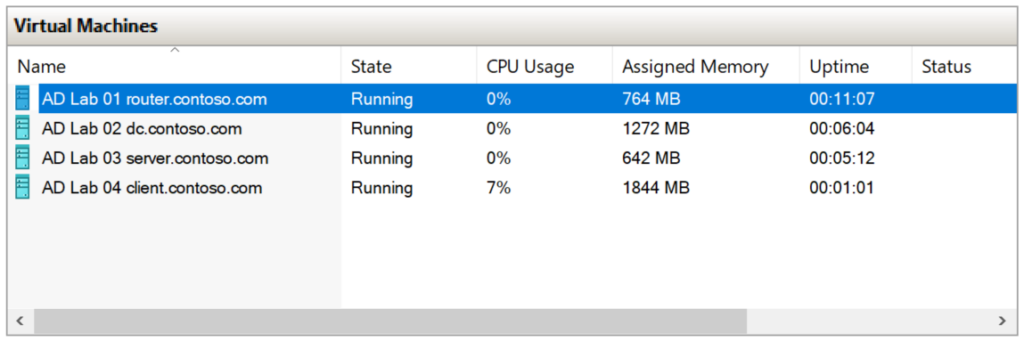
Thanks to Dynamic memory, actual resource consumption may be less than the stated requirement, however, you must have the full amount available to start each virtual machine.
Part I – Introduction
Part II – Customization
Part III – Installation
- Installation Prerequisites
- Create the Virtual Machines
- Install the VMs