Overview
This post is part of a series illustrating how to automate the process of deploying an AD Lab. This article details how to create the required Hyper-V virtual machines.
You can use our automation script, OZO AD Lab Create VMs to perform these steps with a single command!
Create the Virtual Machines
Use these steps to create four virtual machines. Open Hyper-V Manager and click New > Virtual Machine:
Specify Name and Location
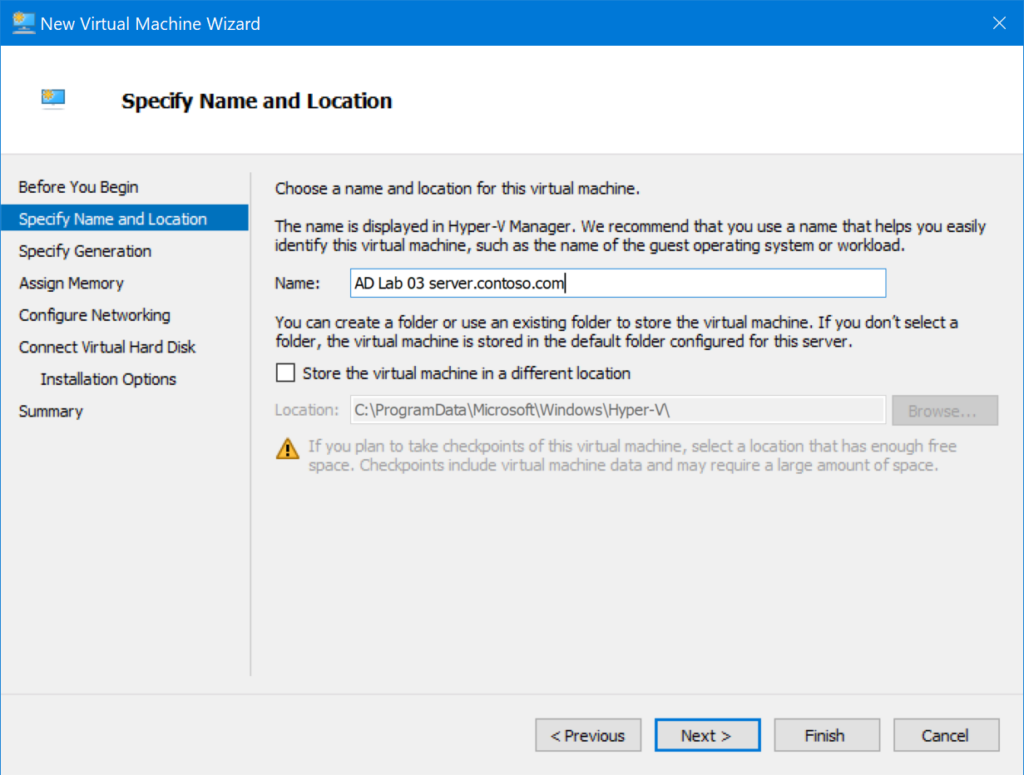
| VM | Name |
| Router | AD Lab 01 router.contoso.com |
| DC | AD Lab 02 dc.contoso.com |
| Server | AD Lab 03 server.contoso.com |
| Client | AD Lab 04 client.contoso.com |
Specify Generation
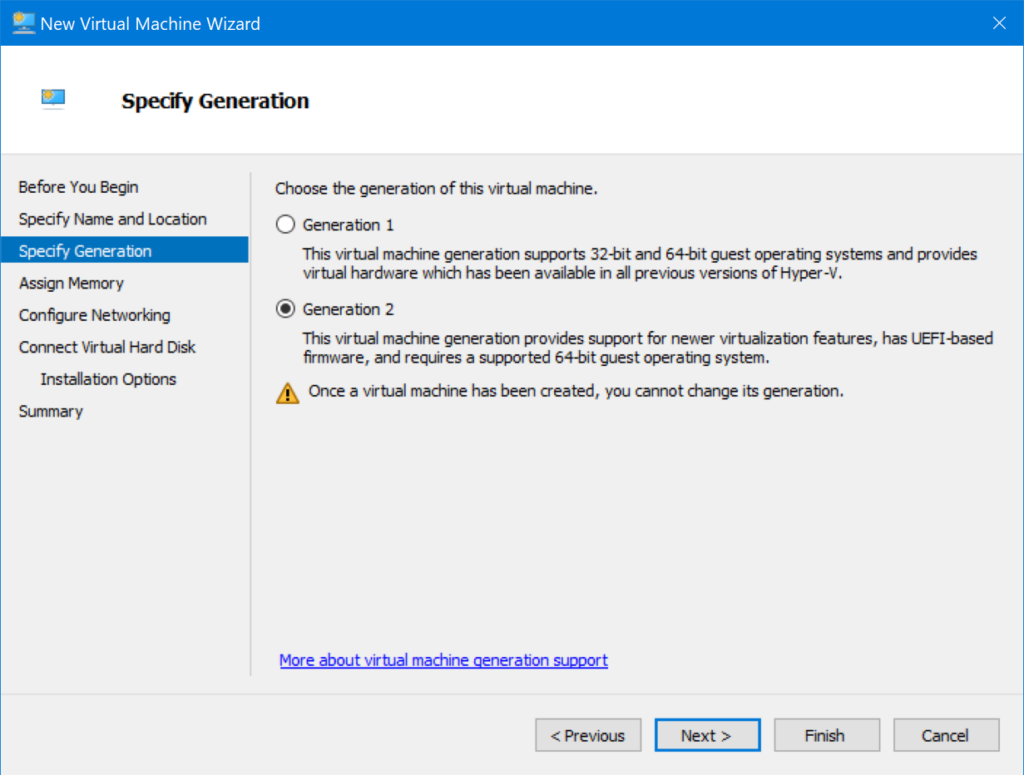
All VMS: select Generation 2.
Assign Memory
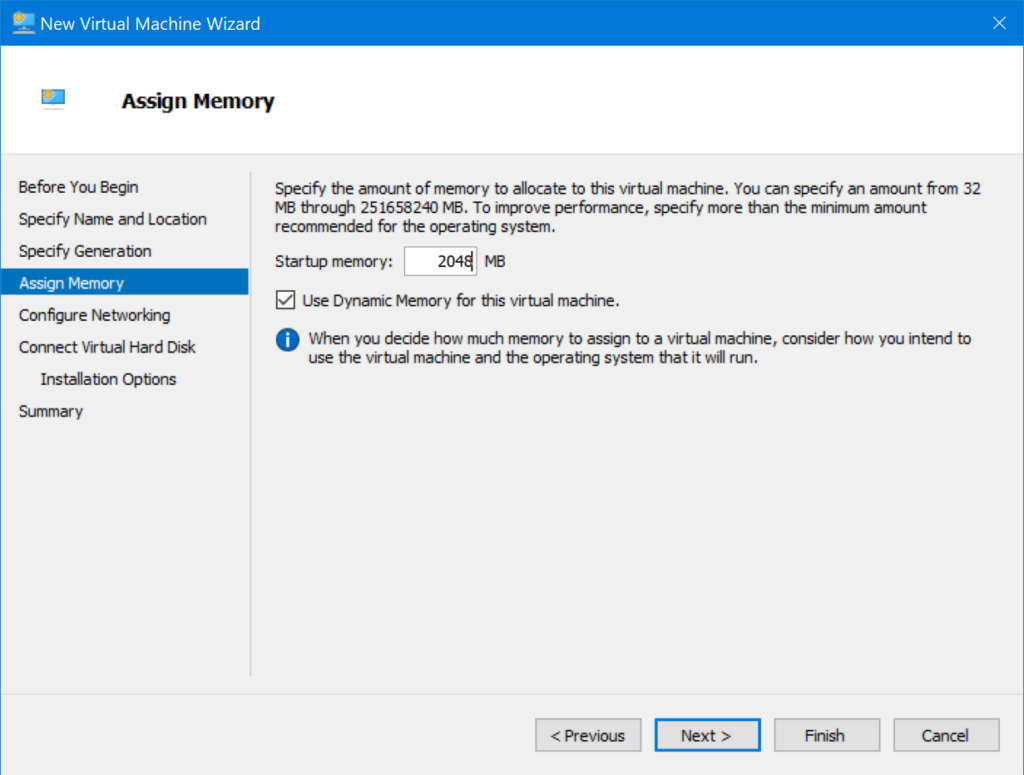
| VM | Startup memory |
| Router | 1024 |
| DC | 2048 |
| Server | 2048 |
| Client | 4096 |
Configure Networking
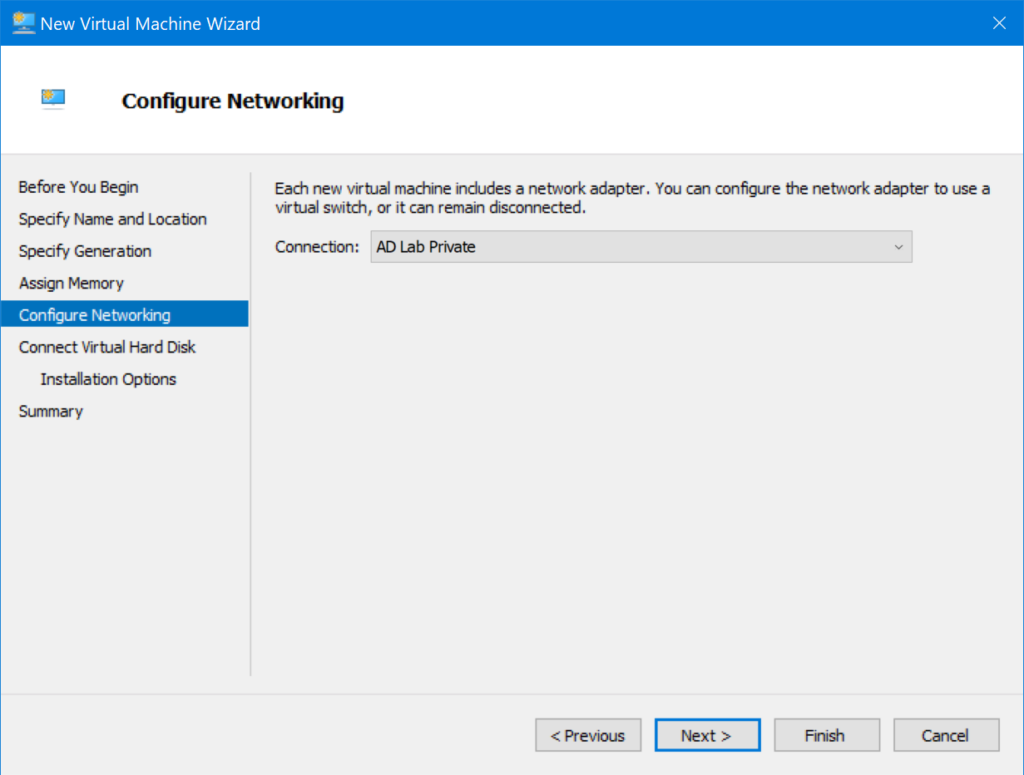
| VM | Connection |
| Router | AD Lab External |
| DC | AD Lab Private |
| Server | AD Lab Private |
| Client | AD Lab Private |
Connect Virtual Hard Disk
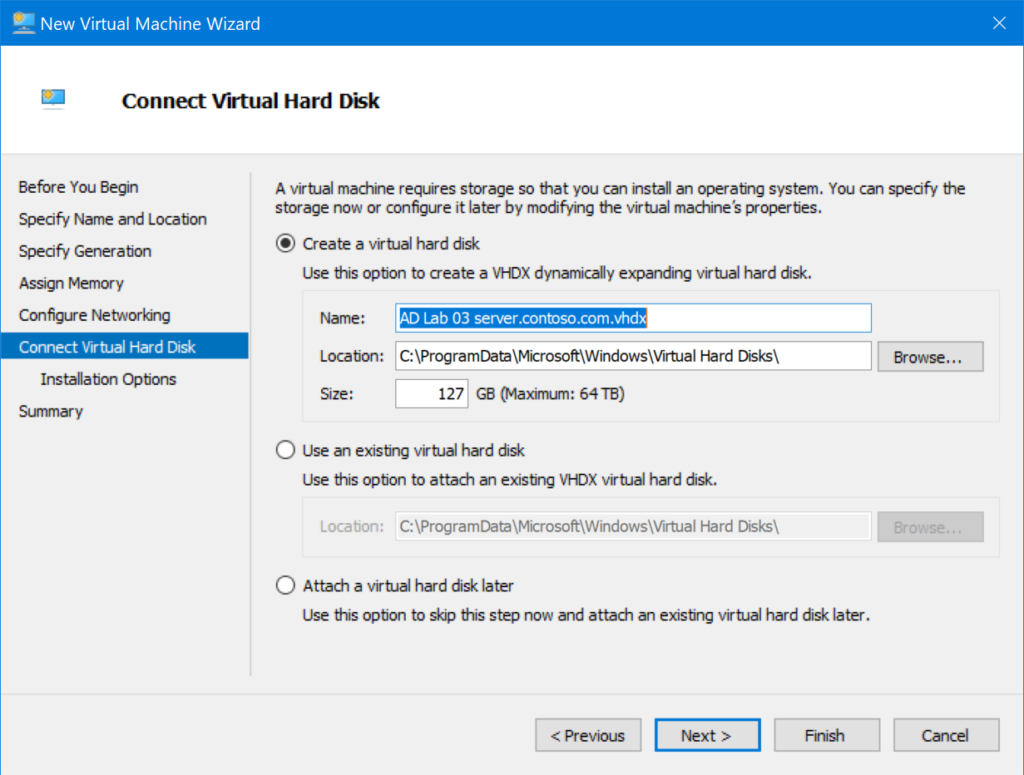
All VMs: accept the default Name and Location, and set size as follows:
| VM | Size |
| Router | 64 |
| DC | 128 |
| Server | 128 |
| Client | 128 |
Installation Options
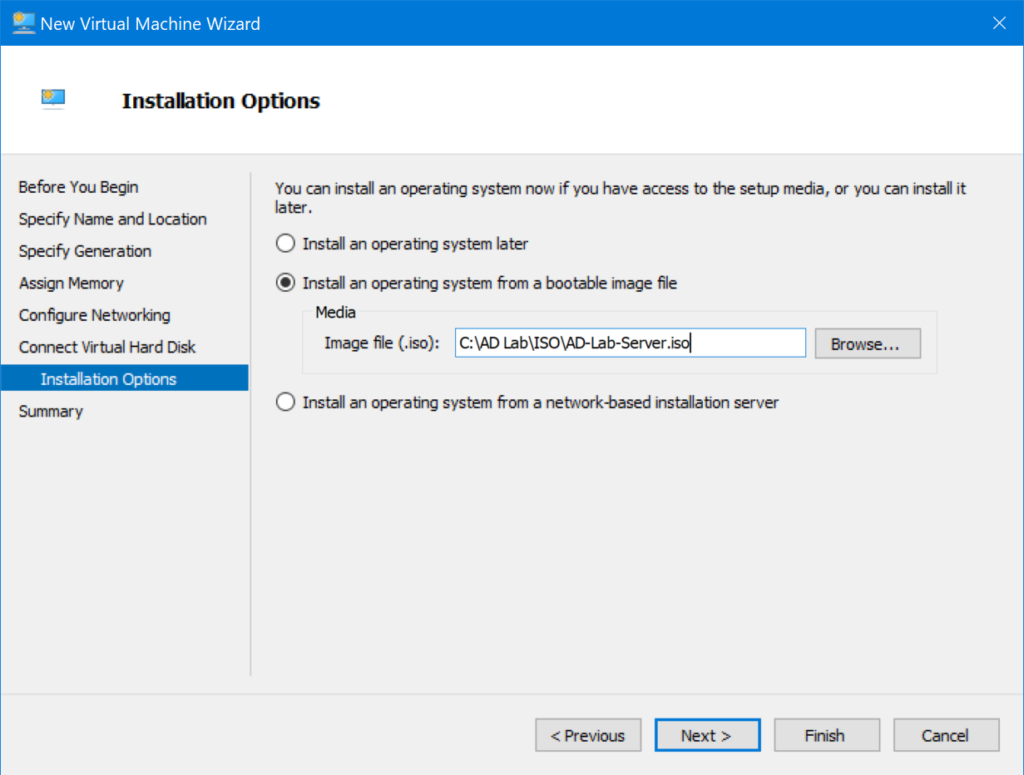
| VM | option | Image file (.iso) |
|---|---|---|
| Router | Install an operating system from a bootable image file | Downloads\OZO-AD-Lab-Router.iso |
| DC | Install an operating system from a bootable image file | Downloads\OZO-AD-Lab-DC.iso |
| Server | Install an operating system from a bootable image file | Downloads\OZO-AD-Lab-Server.iso |
| Client | Install an operating system from a bootable image file | Downloads\OZO-AD-Lab-Client.iso |
Edit the Hyper-V Virtual Machine Settings
Use these steps to edit the virtual machines. Open Hyper-V Manager, select a VM, and click Settings:
Security
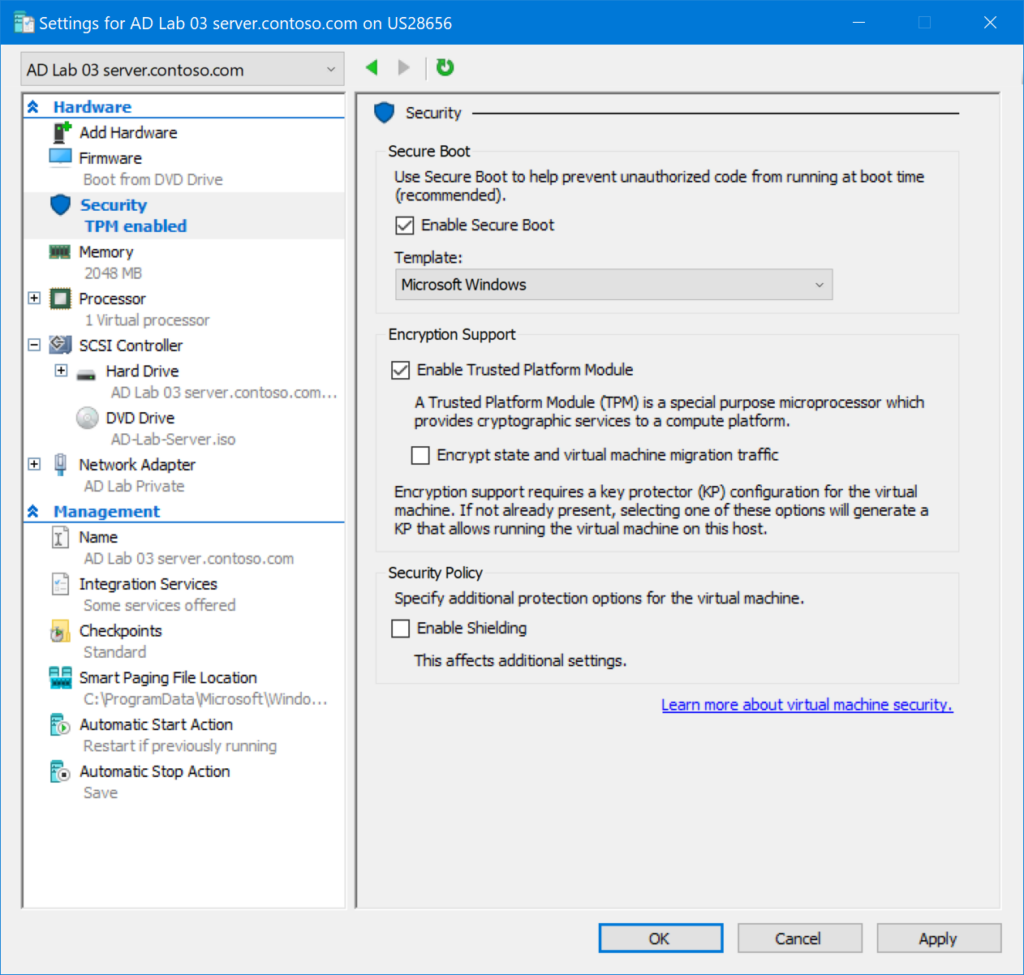
| VM | Template | Enable TPM |
|---|---|---|
| Router | Microsoft UEFI Certificate Authority | No |
| DC | Microsoft Windows | Yes |
| Server | Microsoft Windows | Yes |
| Client | Microsoft Windows | Yes |
Memory
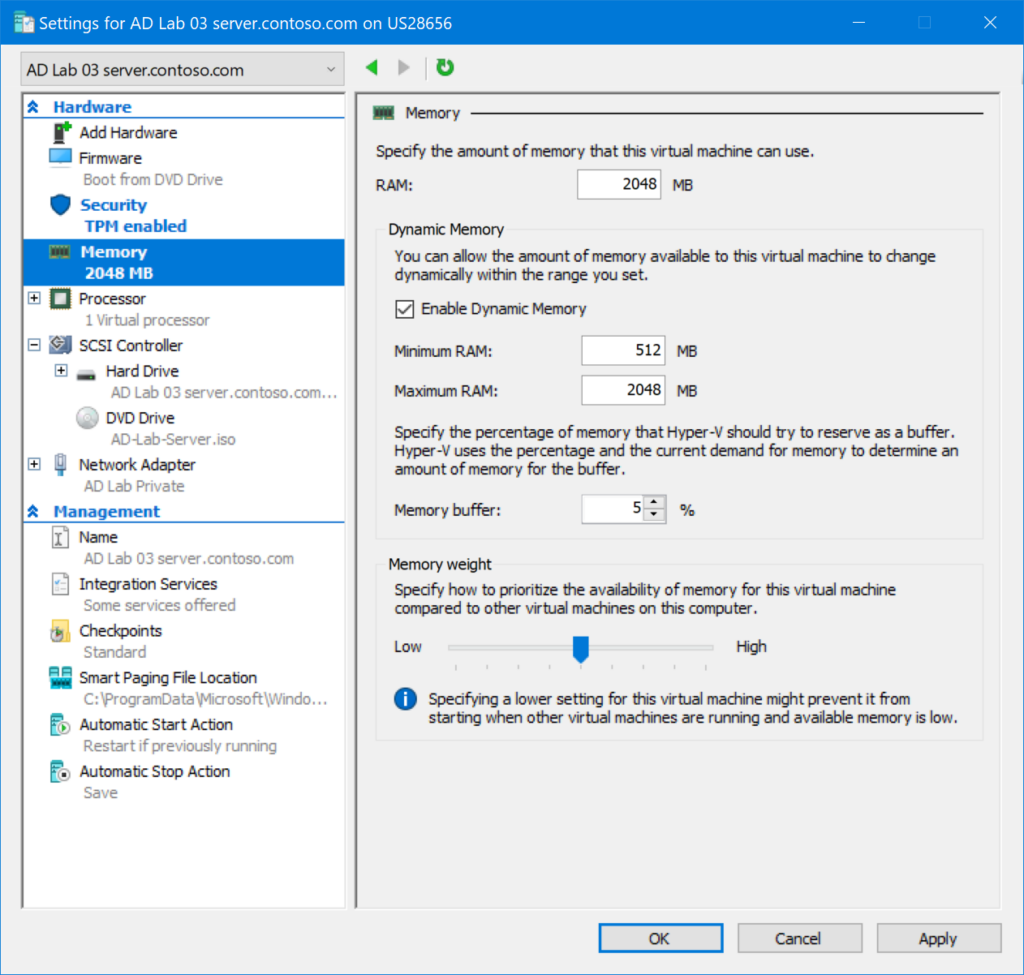
| VM | Maximum RAM | Memory buffer |
| Router | 1024 | 5% |
| DC | 2048 | 5% |
| Server | 2048 | 5% |
| Client | 4096 | 5% |
Integration Services

All VMs: check Guest services.
Checkpoints

All VMs: uncheck Enable checkpoints.
Automatic Start Action
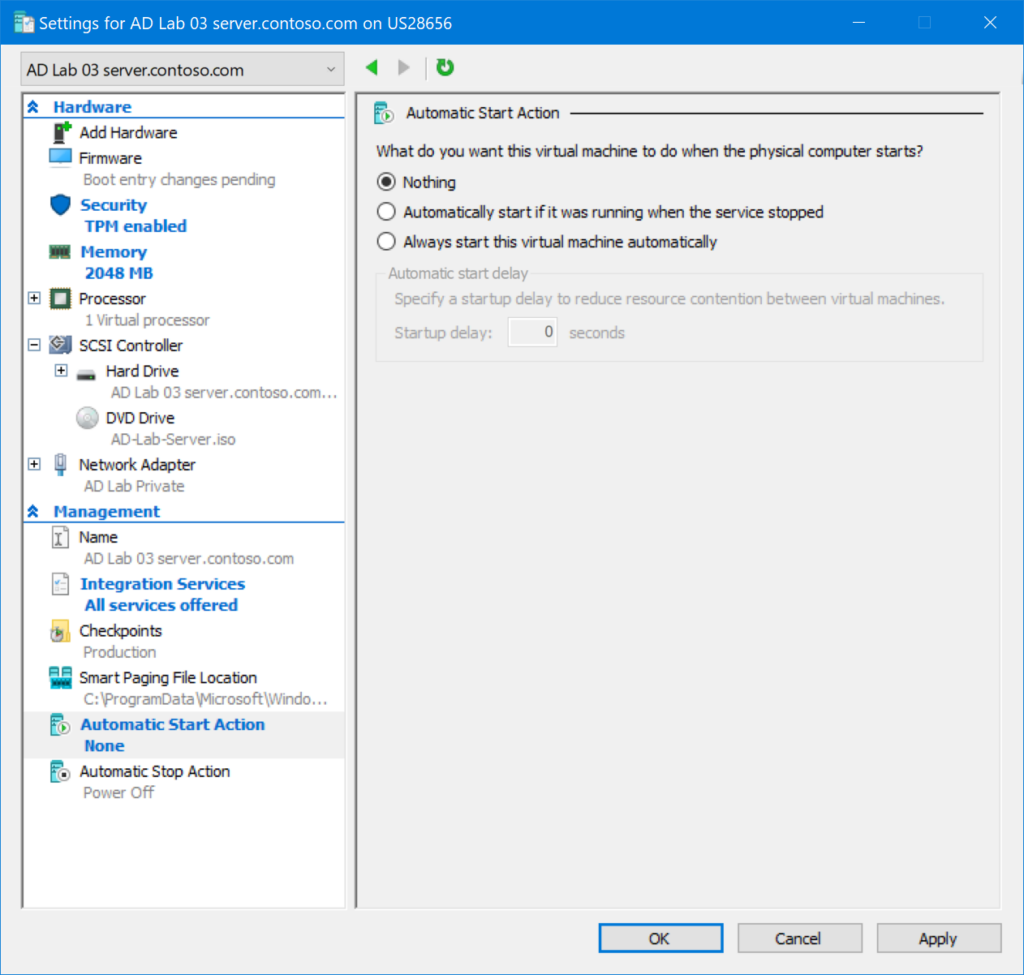
All VMs: select Nothing.
Automatic Stop Action
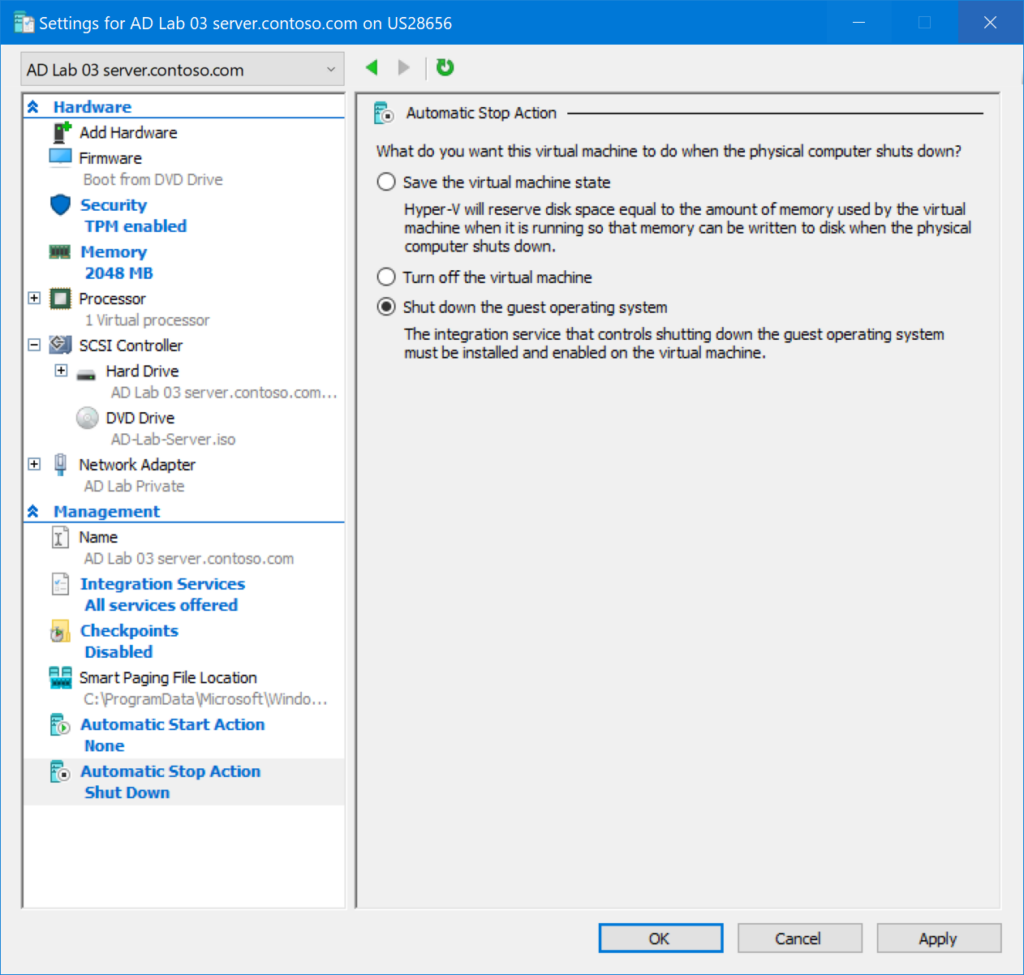
All VMs: Select Shut down the guest operating system.
Additional Steps for the Linux Router VM
- In Hyper-V Manager, select
AD Lab 01 router.contoso.comand edit settings. - Click Add Hardware, select Network Adapter, click Add, and set Virtual switch to
AD Lab Private. - Click Security and in the Template drop-down, choose Microsoft UEFI Certificate Authority.
Part I – Introduction
Part II – Customization
Part III – Installation
- Installation Prerequisites
- Create the Virtual Machines
- Install the VMs